Glamping looks affordable in the photos, but the reality can be jarring. A quick search shows nightly rates swinging from around $80 for a simple canvas tent to well over $500 for a luxury lodge, often for what seems like a similar experience. The trick to spending less is knowing how to match a glamping site to a budget you set in advance, not one the listing sets for you.
This guide walks you through the whole process: setting a realistic budget before you browse, choosing the right season and booking window, matching the site type to your price range, comparing locations against nightly rates, spotting hidden fees in the fine print, and using reviews and photos to judge real value. A checklist at the end pulls it all together so you can book with confidence.
Set Your Glamping Budget Before You Browse
The biggest budgeting mistake in glamping is browsing first and deciding later. Scroll through beautiful listings long enough and a $350 dome starts to feel normal. Flip the order: decide what your whole trip can cost, including travel and food, then work backward to a nightly cap.
Pick your nightly cap
As a rule of thumb, budget canvas tents and yurts typically run $80-$150 per night, mid-range domes and safari tents fall in the $150-$300 range, and luxury lodges often exceed $300-$500. Decide which tier fits your trip before you search, and filter out everything above it so temptation never enters the picture.
Do the math on minimum stays
Many booking platforms require a 2-3 night minimum stay, especially on weekends. That means a single weekend can cost two to three times the nightly rate you saw in the listing, so always multiply before you fall in love with a site. It also helps to build in some flexibility: weekday nights are often $30-$80 cheaper than peak Friday and Saturday pricing, so keeping a little room in your budget for a Sunday-to-Tuesday stay can unlock a nicer tent for the same money.
Pick the Right Season and Booking Window
Timing is one of the few levers that can genuinely lower your glamping bill without lowering your standards. The same safari tent can cost dramatically more in July than in early June, and platforms price weekends like airline seats. The good news is that you do not need insider knowledge to benefit. Most hosts follow predictable patterns: they raise rates for peak summer weekends, discount empty units in quieter months, and drop prices when a tent is still unbooked close to arrival. Once you understand those patterns, a simple calendar check becomes the cheapest upgrade you can give yourself. Here is how to work the calendar in your favor, step by step.
- Shift your dates to shoulder season. Aim for May-June or September-October, when rates can drop 20-40% compared with peak summer. You also get quieter campgrounds, easier parking and fire pits that actually feel good in the cool evenings. Weather is usually still pleasant for hiking and outdoor cooking, so you lose little and save a lot.
- Book early for summer weekends. For peak-season Friday and Saturday nights, reserve 2-3 months ahead. The best-value sites sell out first, leaving mostly overpriced leftovers closer to the date. If your dates are fixed, this is the single most reliable way to keep costs down.
- Try a last-minute bid if you are flexible. If you can travel midweek in low season, watch for discounts of 10-25% that appear 1-2 weeks before arrival as hosts try to fill empty units. Set alerts on your favorite platforms and be ready to book fast, because good deals on popular tent types can disappear within hours.
One caveat: last-minute hunting only works if your schedule and packing are genuinely flexible. If you need a specific tent type, a pet-friendly unit or a weekend date, the early-bird route is almost always the safer bet for your wallet. And remember that weekday nights are typically cheaper than Friday and Saturday anyway, so even a one-night shift can soften the bill before you apply any discount.
Match the Glamping Site Type to Your Price Range
Not all glamping is the same product at different prices. A yurt and a luxury lodge share a marketing category but almost nothing else, and knowing what each tier actually buys you is the fastest way to stop overpaying. Match the structure to the experience you genuinely want, and the price range follows naturally. Before you browse listings, decide which of the three tiers below fits your trip, because each one delivers a noticeably different level of comfort and privacy.
The cheapest entry point is a classic canvas tent or yurt. You usually get a real bed, lighting and shared bathroom facilities a short walk away. There is rarely heating or a private kitchen, so pack warm layers and plan meals accordingly. It is still a big step up from pitching your own tent, and for hikers or travelers who spend all day outside, it often covers everything you actually need.
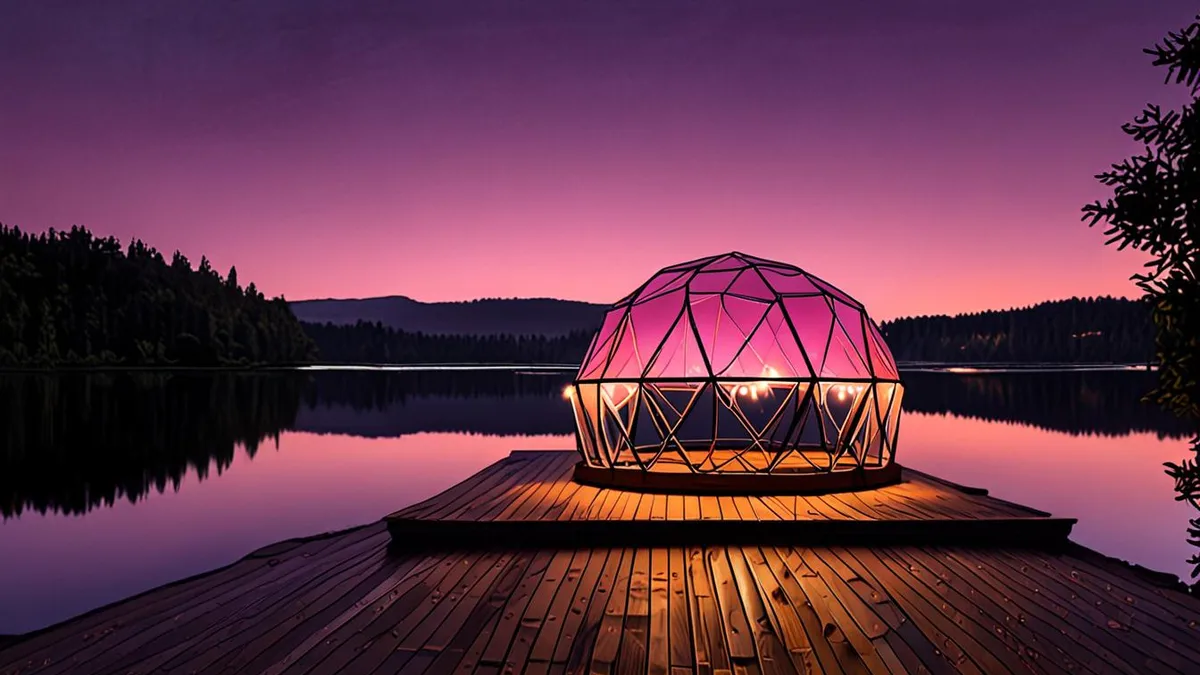
- Geodesic domes and safari tents, $150-$300 per night. This mid-range tier typically adds a private bathroom, heating for cold nights and thoughtful positioning for better views. It is the sweet spot for couples who want comfort without resort pricing.
- Luxury lodges, often above $300-$500 per night. Save this tier for trips where spa access, full board and concierge-style service are the point of the stay. If you plan to eat out and hike all day, you are paying for amenities you will not use.
A good exercise before you book: write down the two or three amenities you would genuinely miss, such as a private bathroom, heating or a proper kitchen, then choose the cheapest tier that includes all of them. Everything beyond that is a nice-to-have, not a reason to stretch your budget. Also think about how much time you will spend inside the tent. If you are checking in late and leaving early, the extra cost of a premium structure buys you little more than a few hours of sleep.
Compare Locations: Distance vs. Nightly Rate
Location is one of the biggest price drivers in glamping, and it’s easy to overpay without realizing it. Sites within a 30-60 minute drive of major cities or national park gates typically charge a premium of 20-50% over rural equivalents offering nearly the same tent, bed and fire pit. You’re paying for convenience, and sometimes that’s worth it — but sometimes it isn’t.
Before you book, map the actual drive from your home or airport, not just the distance “as the crow flies.” A site that looks cheap can sit three hours down a winding road, which matters a lot when you only have two nights.
Watch for parking and transfer costs
Remote sites don’t always include parking in the rate. Some charge per vehicle, and if you can’t drive all the way in, shuttles or transfers can add $10-$25 per day. Check the listing details or message the host before you commit, and factor that into your nightly total.
Do the math on a longer drive
If a site 90+ minutes away saves you $50 a night, ask yourself what that drive really costs. Add fuel, wear on your car, and two to three hours of travel time each way. On a short 2-night stay, that’s half a day of your trip spent behind the wheel. For a week-long getaway, the savings often make sense; for a quick weekend, a pricier site closer to home frequently wins.
Read the Fine Print: Hidden Fees and What’s Included
The nightly rate on a booking platform is rarely the number you actually pay. Cleaning fees are commonly added on top of the rate, and on a short 2-night stay they can push your effective per-night cost up noticeably. Always expand the full price breakdown before you click book, and compare total cost, not headline price, between sites. A listing that looks like a bargain can quietly become one of the most expensive options on your shortlist once the extras are tallied.
The other sneaky budget-killer is amenities that sound included but aren’t. Showers, kitchen access, firewood and linens can each carry a separate charge, and paying for them individually adds up quickly over a weekend. A site that looks cheaper per night can end up costing more once you add a firewood bundle and a towel rental for two.
- Showers and bathrooms: Some budget sites point you to a shared bathhouse a short walk away, while others charge per shower or only offer hot water at set hours — check which setup you’re getting.
- Kitchen and cooking: Look for whether you get a shared camp kitchen, just a fire ring with a grill grate, or nothing at all, since eating every meal at nearby restaurants erases your savings fast.
- Firewood and linens: Many sites sell firewood bundles on-site and rent bedding or towels separately, so pack your own sleeping bag liner or buy wood locally if you want to skip those charges.
- Cancellation terms: Flexible rates typically cost a bit more than non-refundable ones, so decide whether your plans are solid enough to take the cheaper option — and check what happens if weather forces a closure.
One more tip: screenshot the full price breakdown when you book. If a fee shows up later that wasn’t listed, you’ll have proof to dispute it with the platform or host. It takes seconds, and it’s the kind of habit that keeps a budget trip from turning into an argument over a charge you never agreed to.
Use Reviews and Photos to Spot Real Value at a Glamping Site
A glamping tent photographed at golden hour with wide-angle lens magic can look very different in person. Reviews and guest photos are your best defense against overpaying for a site that doesn’t deliver, so use them deliberately rather than skimming the star average.
Search reviews for the dealbreakers
At cheaper sites, the most common complaints cluster around heating, insulation and rain performance. Use the review search function on the booking platform and type in words like “cold,” “rain,” “leak” or “mold.” If several guests mention shivering in a supposedly heated tent or water pooling near the entrance, that’s a pattern, not bad luck. One grumpy review means little; three recent ones describing the same problem mean walk away.
Compare guest photos to listing photos
Scroll past the professional shots and find photos uploaded by guests. Look at the tent’s size relative to the people and furniture in frame, the condition of the canvas, and how the surroundings actually look. Guest photos regularly reveal tents that appear larger or newer online than they really are, plus details like a highway in the background or a fire pit that’s more rust ring than amenity.
Finally, weight your decision toward track record. A site with 20+ reviews averaging 4.5 stars or higher has proven itself across different seasons and guests. A brand-new listing with an untested low price might be a great deal — or a great disappointment. If you gamble on a new site, read the host’s other listings and responses to questions to gauge how they operate before you commit your budget.
Your Budget Glamping Checklist
Glamping only looks affordable in the photos. Nightly rates can swing from $80 to well over $500, and the difference between a great stay and an overpriced tent usually comes down to a few decisions made before you ever click “book.” The fix is simple: set your nightly cap first, whether that’s $80-$150, $150-$300 or $300+, and only search within it.
From there, the rest falls into place. Target shoulder season dates and book 2-3 months out for summer weekends, match the tent type to your price range, and always check the total cost, recent reviews and drive time before paying. Do those four things and the rate on the listing is close to the rate you’ll actually pay. If this helped you plan a trip, leave a comment with your own budget tips or share the article with a friend who’s dreaming of a night under canvas.